
Crossmatch and issue blood
Available to
Blood bank technologists.The blood bank accepts the sample, crossmatches units against it, and issues compatible units. Every step is checked by the system.
From sample to issue
- Open the request and select Accept Sample. Enter the Sample Barcode, Sample Drawn At and the Patient ID on Sample Label. The label must match the patient, and the sample must be fresh.
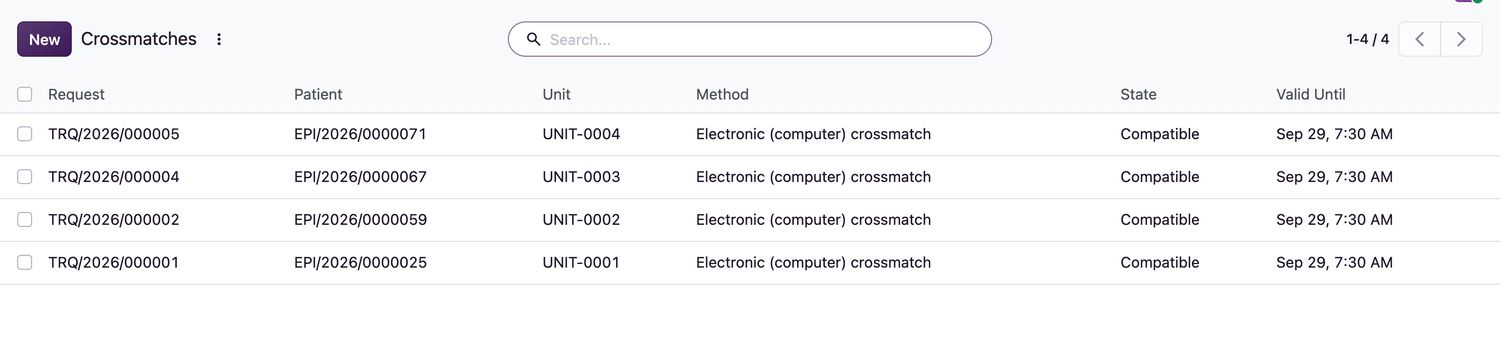
- Open Blood Bank → Crossmatches and select New. Choose the Request, the Unit and the Method.
- Select Compatible (verify) if compatible, or Incompatible. Only an available, unexpired unit of the right component category can be chosen. An electronic crossmatch needs a confirmed patient group and a negative antibody screen; otherwise use a serological method.
- When all units are crossmatched, the request becomes
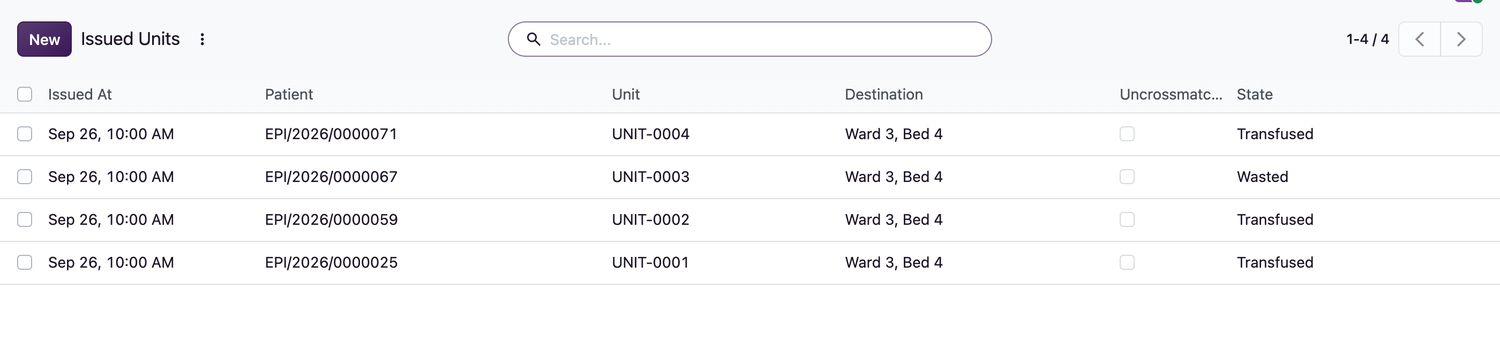
Units ready. - Open Blood Bank → Issued Units and select New. Choose the Request and Unit.
- At the handover, scan the Patient ID on Request Slip and the Unit Number Scanned, tick Visual Inspection Satisfactory, and enter the Collector Name and Destination.
- Select Issue Unit.
Issue states
| Issue state | Meaning |
|---|---|
Draft | Prepared, not yet issued. |
Issued | Left the blood bank. |
Transfused | Given to the patient. |
Returned to stock | Returned and accepted. |
Wasted | Not used and discarded. |
Returns
If a unit comes back unused, a blood bank technologist selects Accept Return, after checking Return Seals Intact and Return Temperature Acceptable, and enters the Return Reason.
Related topics
Was this helpful?
Thank you. Your feedback is recorded.Thank you. Tell us what is missing so we can fix this guide.
Report an issue with this guide